This guide walks you through the details of how the Swapboard works, from Registration through to Client Swaps.
Complete a simple form and get access to your own dedicated Swapboard.
No credit card needed to try it out. No downloads. No software to install. We only ask for some basic information in order to setup your Swapboard which includes; organisation name, your name, email address and a password for logging in.
Once you have registered for a free trial, you can setup your Swapboard to work with your business.
The Swapboard is flexible with a wide range of options allowing you to configure it to match your business needs. You can customise cut-off times, block out dates when classes aren’t running, configure the privacy options plus much more.
The Swapboard is also fully stylable; you can upload a logo and configure it to look like your website. We offer free assistance with the setup and styling of your Swapboard if required.
Adding any existing class spaces that you have available maximises the benefits you will get from the Swapboard and helps to ensure your classes remain full.
The administration tool makes it really easy to add multiple 'swaps' so you can quickly populate any available spaces across your classes.
Once you've setup for your own Swapboard and added available spaces, you need to tell your students and clients that the Swapboard exists.
To do this, simply to give them the unique web address for your Swapboard (available from the admin tool). There are a number of ways to do this, for example: adding a link from your website; sharing it via social media; including it in your email footer; sending it out by email or giving to your clients when they sign-up.
Please note - you DON'T need to create individual accounts or passwords for each of your clients, instead you can use a single shared password. This makes it quick and hassle free for you and your clients.
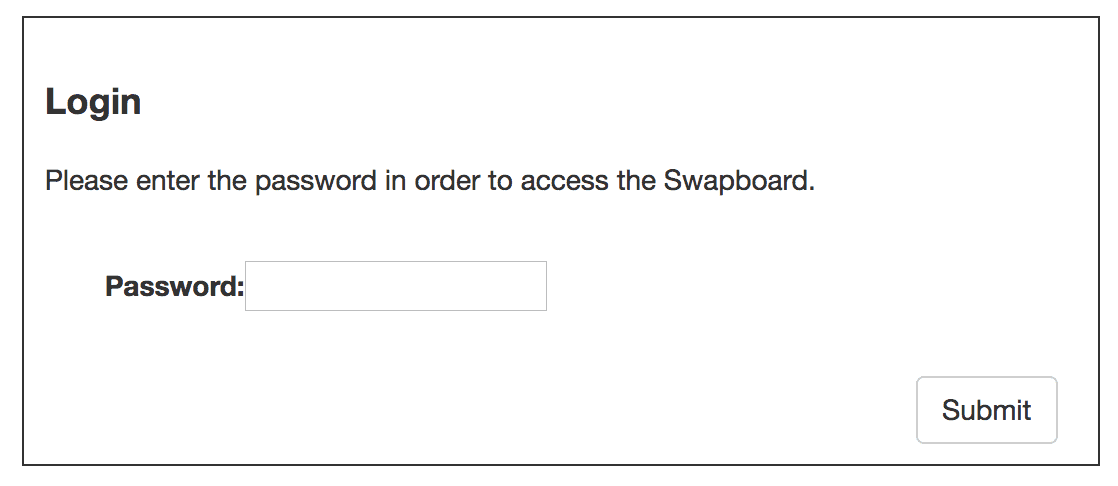
When your client can't attend a class, they visit the Swapboard and login using the shared password you gave them.
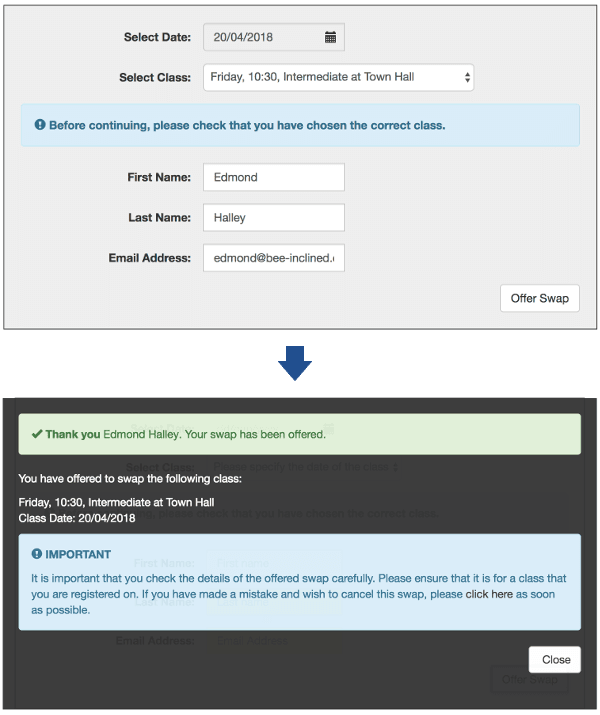
Your client then chooses the class that they are unable to attend and enters their details.
1. Select the date of the class using a date picker.
2. Select the class from a list of classes for that day.
3. Enter their Name and Email Address.
Your client then receives both on-screen confirmation and a copy by email.
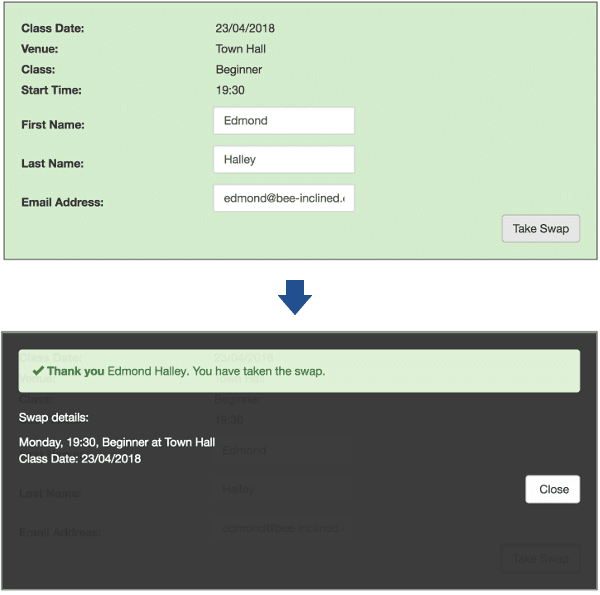
Now that your client has offered a Class Swap, they can take one in return.
1. Choose a Class Swap from the available list.
2. Enter Name and Email Address details.
Your client then receives both on-screen confirmation and a copy by email.
All done, it's as simple as that with no involvement from yourself.
The original class space that was offered by the client becomes available as a swap for another client to take and so the system manages itself.
The administration tool has full details of all of the swaps so you can check and see whats going on at any point. You are also able to offer up any class spaces or drop-ins that you have available helping you to keep your classes full.
Don't forget that each Swapboard is flexible and can be configured to work with your business' setup and rules. This includes a range of different options for controlling cut-off times, term dates, block-out dates, tokens to enforce swaps, styling options to make it look like your website, plus much more.
Ready to setup your own Swapboard?
Become a Bee-Inclined member with a free 3-month trial (no credit card needed).
